Tutorial - A Complete Design Walkthrough with Altium Designer

Welcome to the world of electronic product development in Altium's world-class electronic design software. This tutorial will help you get started by taking you through the entire process of designing a simple PCB – from idea to output files.

To learn more about a command, dialog, object, or panel, press F1 when the cursor is over that item.

The Design

The design for which you will be creating the schematic and designing a printed circuit board (PCB) is a simple astable multivibrator. The circuit is shown below; it uses two general-purpose NPN transistors configured as a self-running astable multivibrator.
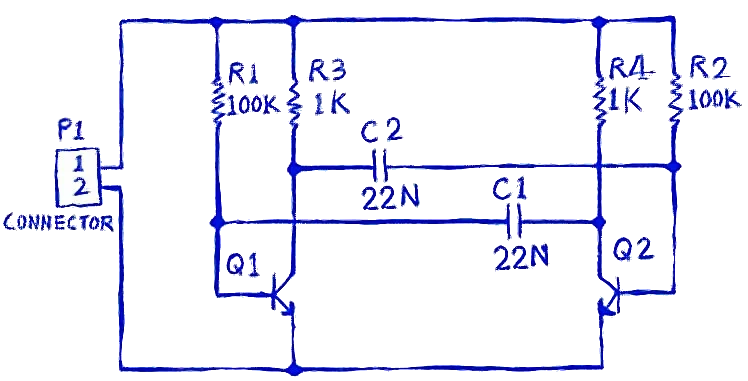
Circuit for the multivibrator.
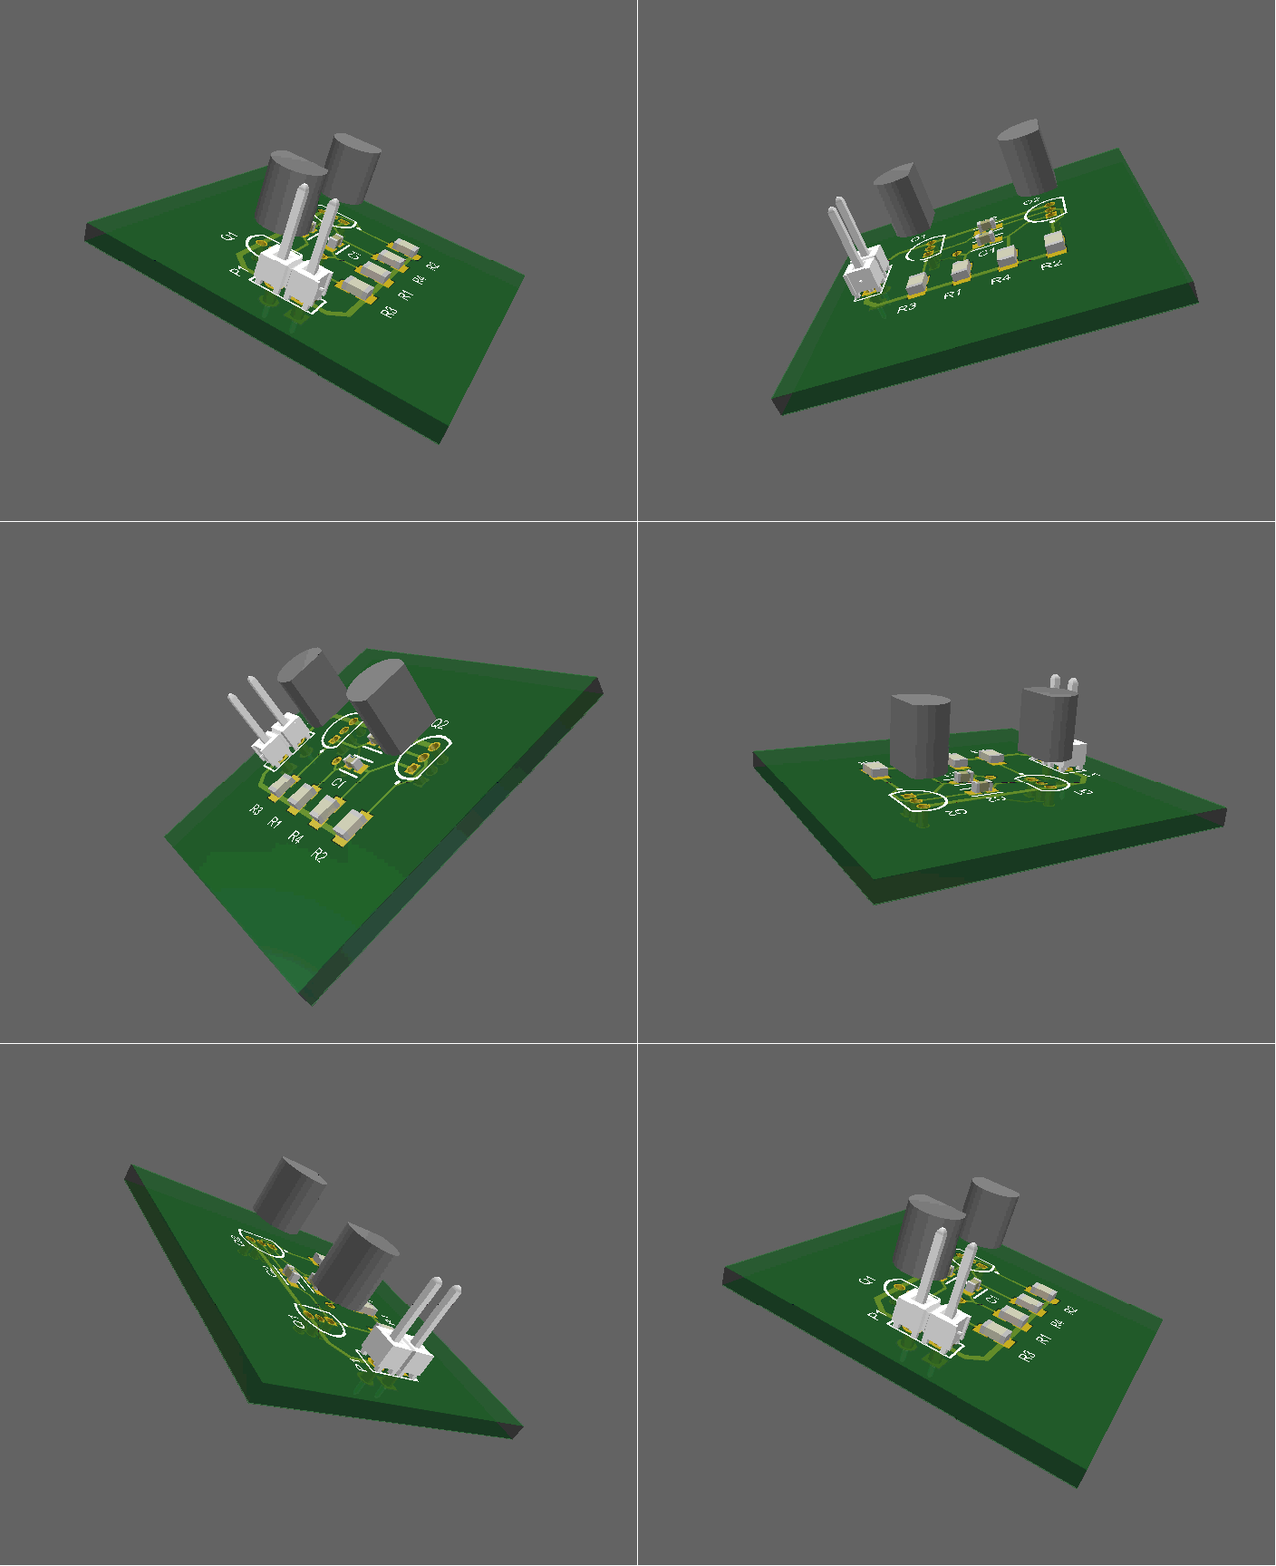

The animation of the designed PCB

Altium Designer can connect to a Workspace to provide a single, secure data source and storage while affording unparalleled collaboration. It could be an Altium 365 Workspace – a Workspace hosted on the Altium 365 cloud-based infrastructure platform, or an Enterprise Server Workspace – a Workspace provided through the Altium On-Prem Enterprise Server, installed and managed by your own IT department.

This tutorial focuses on using Altium Designer with a connected Workspace – the most streamlined and empowered environment for your design needs. However, if you are not able to enjoy the benefits that a connected Workspace brings, you can store your design data, including projects, component libraries, and design outputs, locally on your hard drive or in a shared network resource.

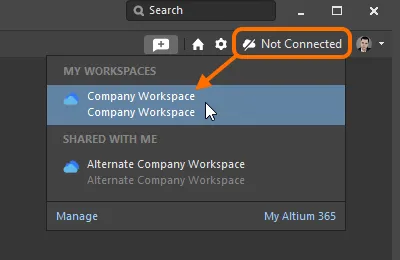
To complete this tutorial, you will need to be connected to a Workspace. It is assumed that your Workspace has been activated/installed with the sample data.

Learn more about Designing with a Connected Workspace

Learn more about Accessing Your Workspace

Altium NEXUS can connect to a Workspace to provide a single, secure data source and storage while affording unparalleled collaboration. It could be an Altium 365 Workspace – a Workspace hosted on the Altium 365 cloud-based infrastructure platform, or NEXUS Server Workspace – a Workspace provided through Altium NEXUS Server, a solution installed and managed by your own IT department.

This tutorial focuses on using Altium Designer with a connected Workspace – the most streamlined and empowered environment for your design needs. However, if you are not able to enjoy the benefits that a connected Workspace brings, you can store your design data, including projects, component libraries, and design outputs, locally on your hard drive or in a shared network resource.

To complete this tutorial, you will need to be connected to a Workspace. It is assumed that your Workspace has been activated/installed with the sample data.

Learn more about Designing with a Connected Workspace

Learn more about Accessing Your Workspace

You're ready to begin capturing (drawing) the schematic. The first step is to create a PCB project.

If you find an issue, select the text/image and pressCtrl + Enterto send us your feedback.
Note

The features available depend on your Altium product access level. Compare features included in the various levels of Altium Designer Software Subscription and functionality delivered through applications provided by the Altium 365 platform.

If you don’t see a discussed feature in your software, contact Altium Sales to find out more.