PCB에 로고/그래픽 넣기
Solution Details
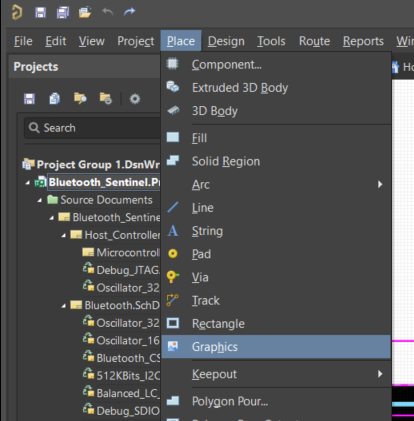
With version 21 and newer, there is an new option under the Place command.

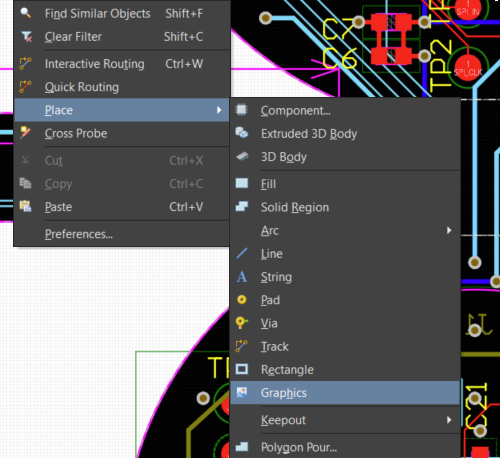
or from right click:

After launching the command (you can also use the keyboard shortcut P,H), the cursor will change to a cross-hair and you will enter image placement mode. Placement is made by performing the following sequence of actions:
1 Position the cursor and click or press Enter to anchor the first corner of the image's frame, in which the image itself will reside.
2 Move the cursor to adjust the size of the frame and click or press Enter to complete frame placement.
3 The Choose Image File dialog will appear, from where you can browse to and select the required image. Select the file you wish to insert and press the Open button.
4 The Import Image dialog will open, where you may preview the graphic, then determine the quality, composition, and inverted levels of the chosen image. Once all options are finalized, click OK to complete the placement.
See this documentation for more detailed information:
Including Barcodes & Logos
There are two additional methods that can be used in all versions for importing a bitmap file (*.bmp).
Method 1 (preferred), Direct Copy and Paste
1 Save your BMP image in monochrome using the Microsoft Windows Paint program. Select the MonoChrome option in the 'Save as type' section as shown:

2 In Microsoft Paint, press Ctrl+A and then Ctrl+C to select and copy your logo image.
3 Open your *.PcbDoc in Altium Designer. Select the layer on which you wish to paste your logo and press Ctrl+V. If you do not see the image appear, try pasting it into a new BMP in Microsoft Paint and then copy and paste again into Altium Designer.
1 Hover over the graphic you've pasted and right-click and select Unions » Resize Union
2 Click on the Logo image and you should see handles appear at each of the corners.
3 Click and drag on a white edit handle at the corner to resize. NOTE: (It is important to let the image redraw before releasing your mouse or you might lose the entire image).
For more information on Unions and Union Management, please review the following section of our documentation:
Manage Unions
1 Copy the Bitmap image to a new Microsoft Word document.
2 Save the Microsoft Word document. This will automatically convert the image to an OLE object.
3 In Altium Designer, select the layer to place the logo on in your Pcb document.
4 Use the command, Place » Object From File to place the OLE object into Altium Designer.
The image will retain its original size. It is necessary to edit the image in the Microsoft Document and resave it to update the image size in your PCB.
Note: If an error is encountered when using Place » Object From File, "supported OLE Server was not found for file", it might be necessary to copy the image in the Word file and paste it into a new Word document file and save. Then try the OLE placement in Altium Designer using the new file
