KB: Rename a Managed Project and the local copy
Solution Details
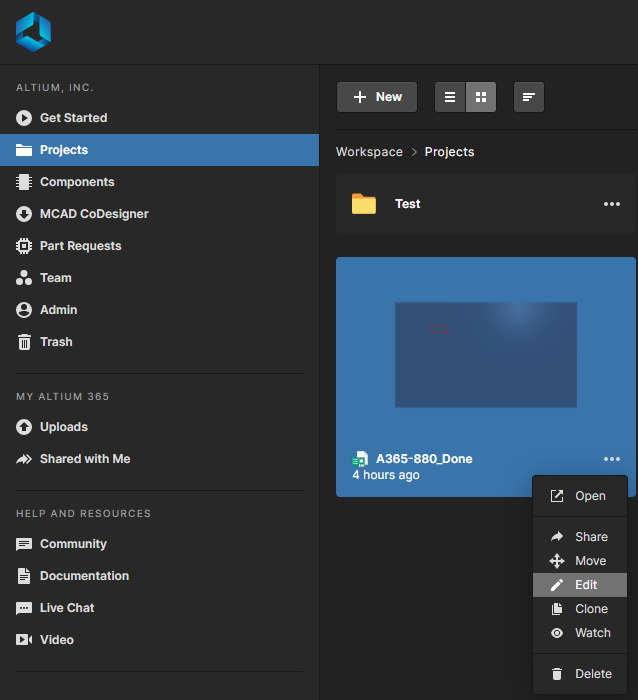
Renaming an existing managed project is simple. Go to your Altium 365 Workspace via a supported web browser and navigate to the Projects section. Locate the managed project you are editing, click on the ellipsis button  next to the project name, and select Edit.

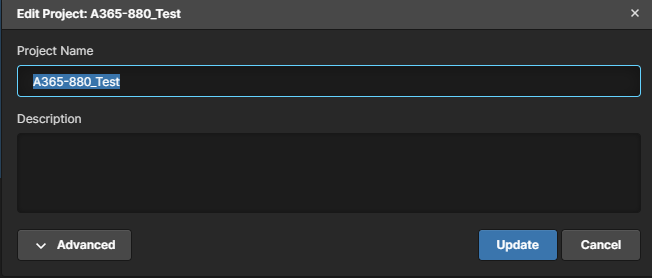
Edit the Project Name field to input the name, and click Update.

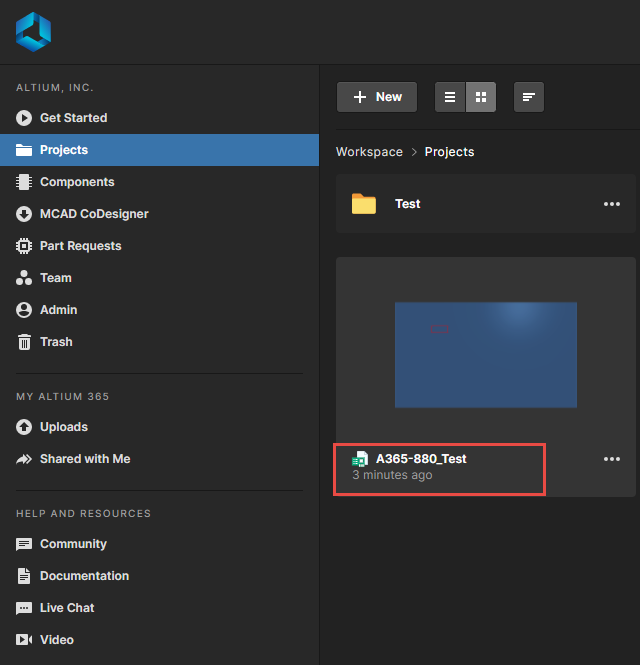
This will update the Project thumbnail’s name and timestamp of when the changes were made.

At this point, you can check out a copy of the managed project to your local drive, and the new Project Name will appear.
Starting from Altium Designer 20.2 and above:
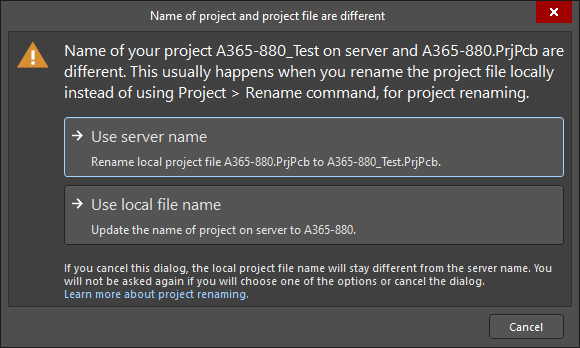
What happens if you already have a previous copy checked out that uses the previous Project Name and has a different file name for the PCB Project (*.PRJPCB)? When you open the checked out project directly, you will receive a warning message in a separate pop-up window indicating that the "Name of the project and project file are different", meaning that the name of the project in your Altium 365 workspace and the local project file name are different. You will be presented with two options:
1 Use Server Name – Rename local project file <OldProjectName.PrjPcb> to <NewProjectName.Prjpcb>
2 Use Local File Name – Update the name of project on server to <OldProjectName.PrjPcb>

Once you select an option, the changes will be made accordingly, and the local and managed project names will be synchronized to avoid any confusion.
