Welcome to Altium 365
Get started in minutes.
Need the latest version of Altium Designer? Download Here.
Remote Working
Design Review
MCAD Collaboration
Electronic Collaboration
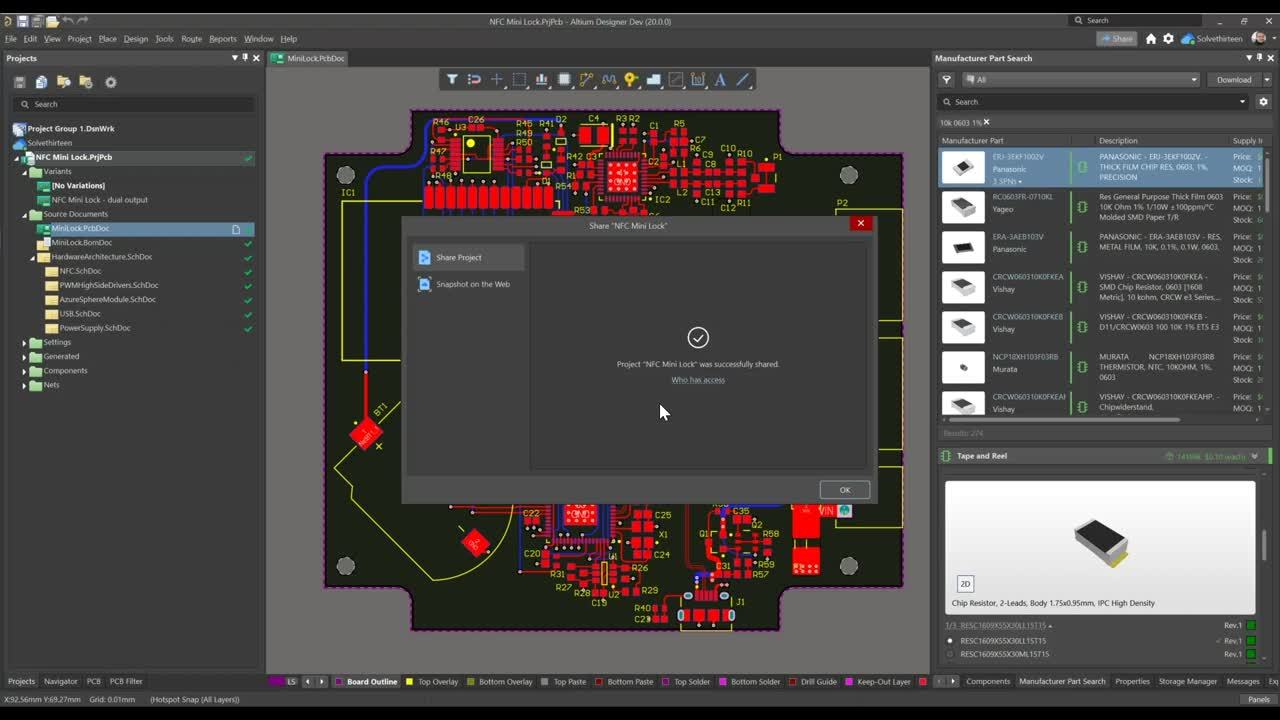
Customer Interaction
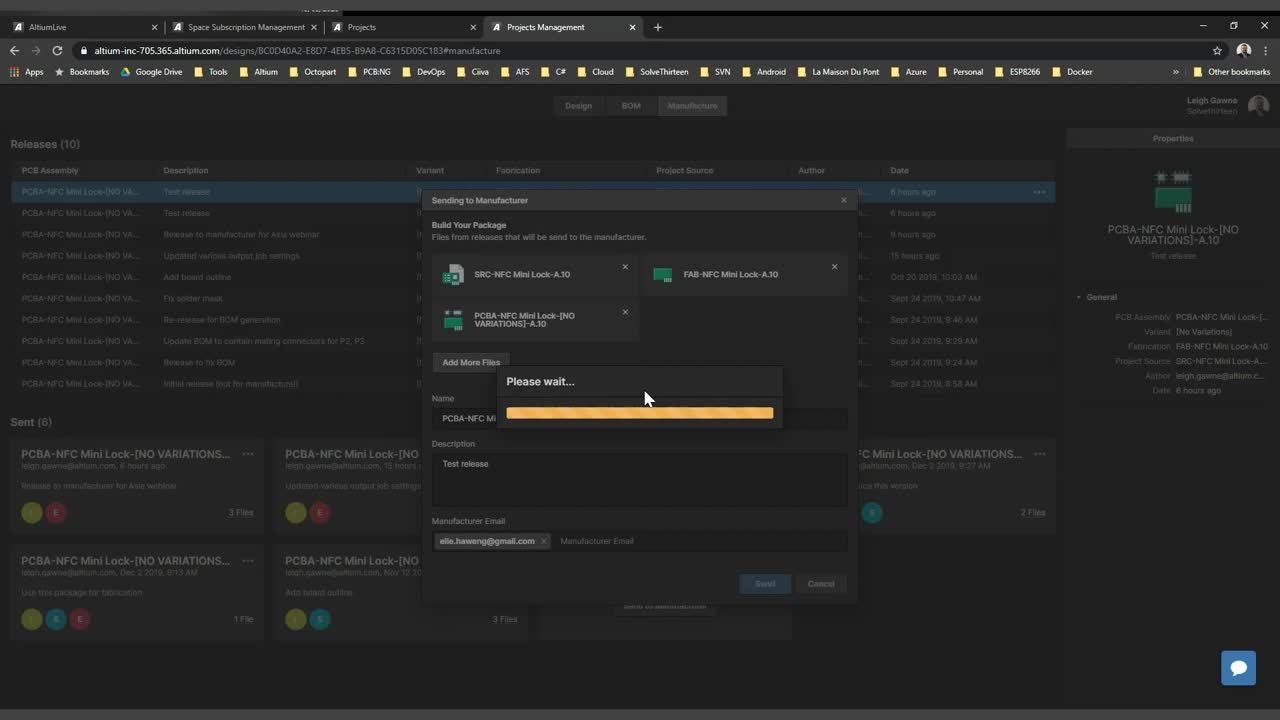
Manufacturer Collaboration
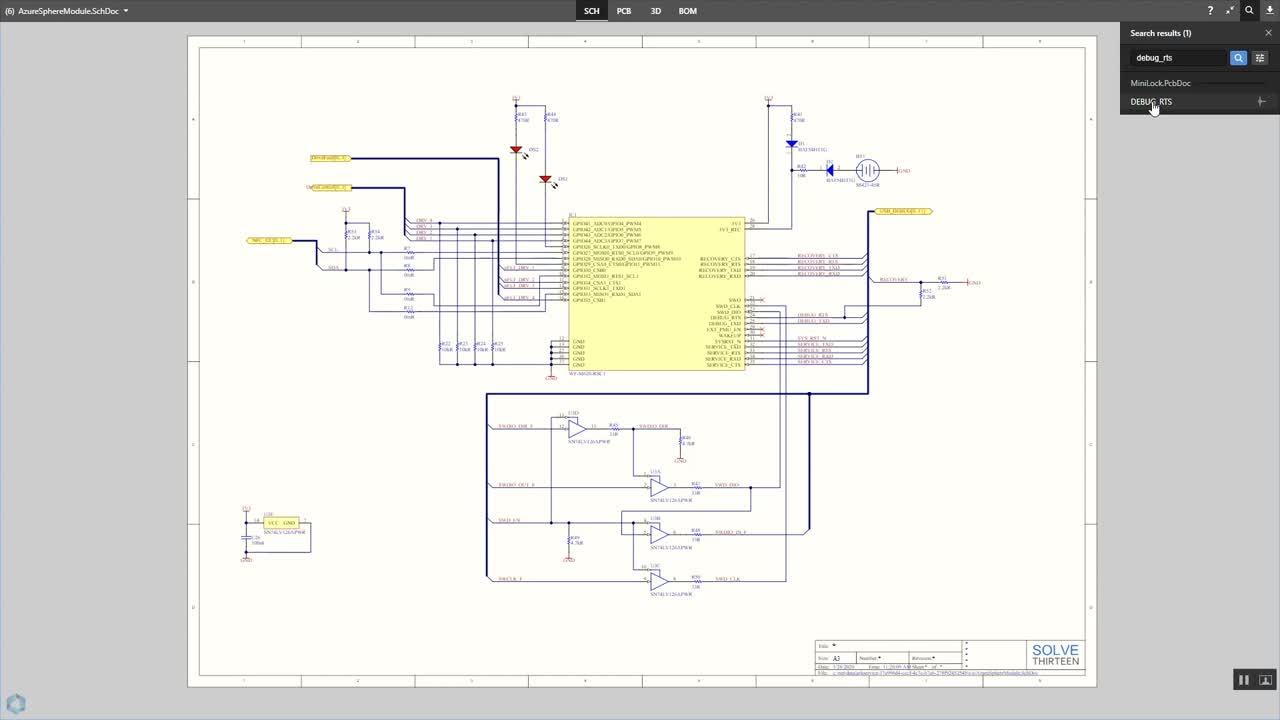
Software Collaboration
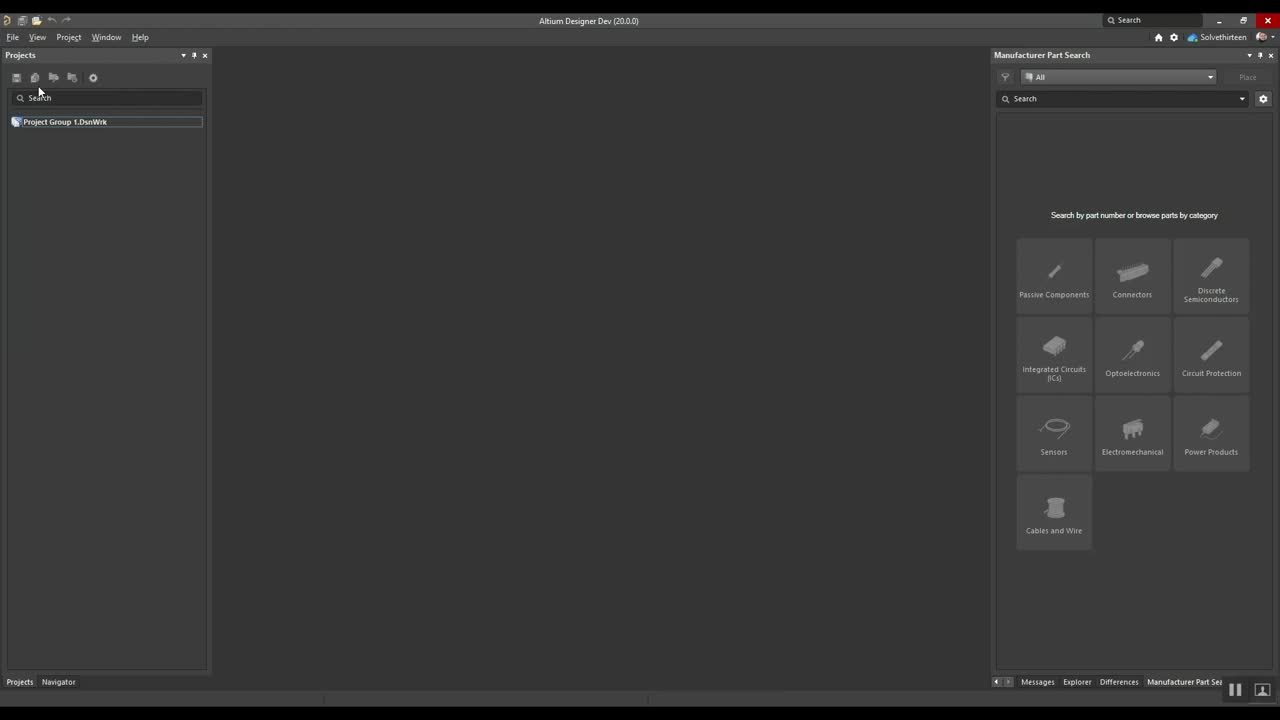
- Working within Altium Designer, connect to Altium 365 by the menu in the top right corner
- Open the project you want to upload
- Right-click on the project in the Project panel and select "Make Project Available Online..."
- Specify a project name and optionally, a description, and select the option to “Enable Formal Version Control”.
- Click "Ok" and you are done!

How to Put Your Designs on The Cloud With Altium 365
Note: People you invite to the Workspace will have access to all its data. If you want to grant access to a specific design only, see the next section
- Within the Altium 365 Workspace web interface, Navigate to the "Team" tab
- Click "Invite Team Members"
- Provide the email addresses of each person who you want to invite to the Workspace
- Specify the role(s) to be assigned to the new members and click "Invite"
- Each new team member will then receive an email containing an invitation to the Workspace

How to Add Users to an Altium 365 Workspace
- Working within Altium Designer, click the "Share" button in the top right corner
- Specify the email addresses of the people with whom you want to share the project
- Specify their permissions as “Can View” or “Can Edit” using the drop-down menu
- Click "Share"
- The specified people will then receive an email containing a link to the project
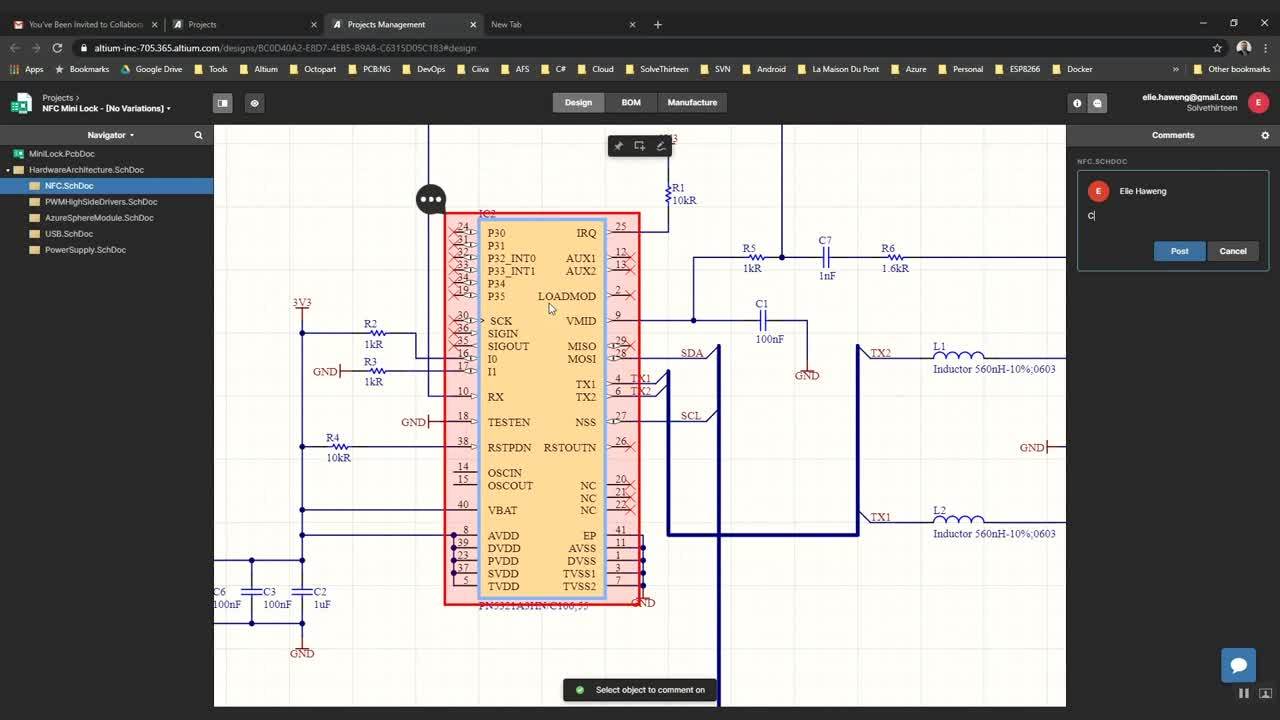
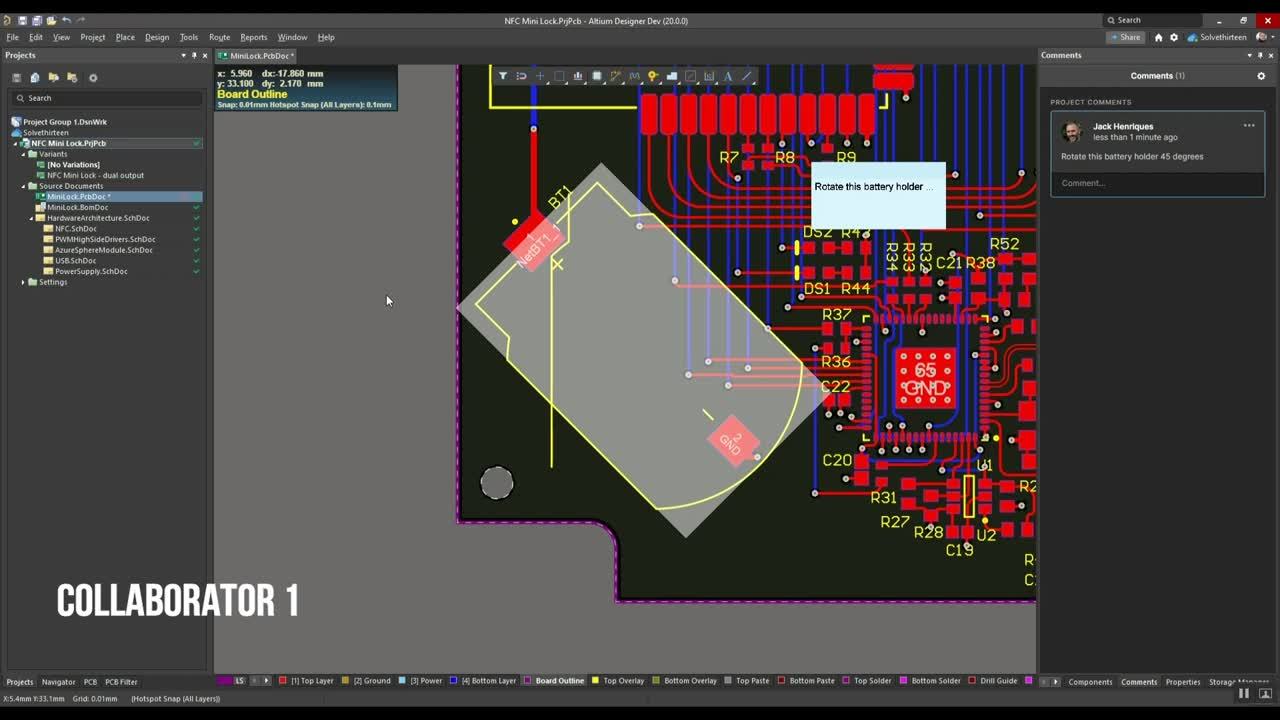
- Now you are ready to discuss the design right there using comments! Just open the “Comments” panel and press "Place a comment". Comments will be visible both in Altium 365 and Altium Designer
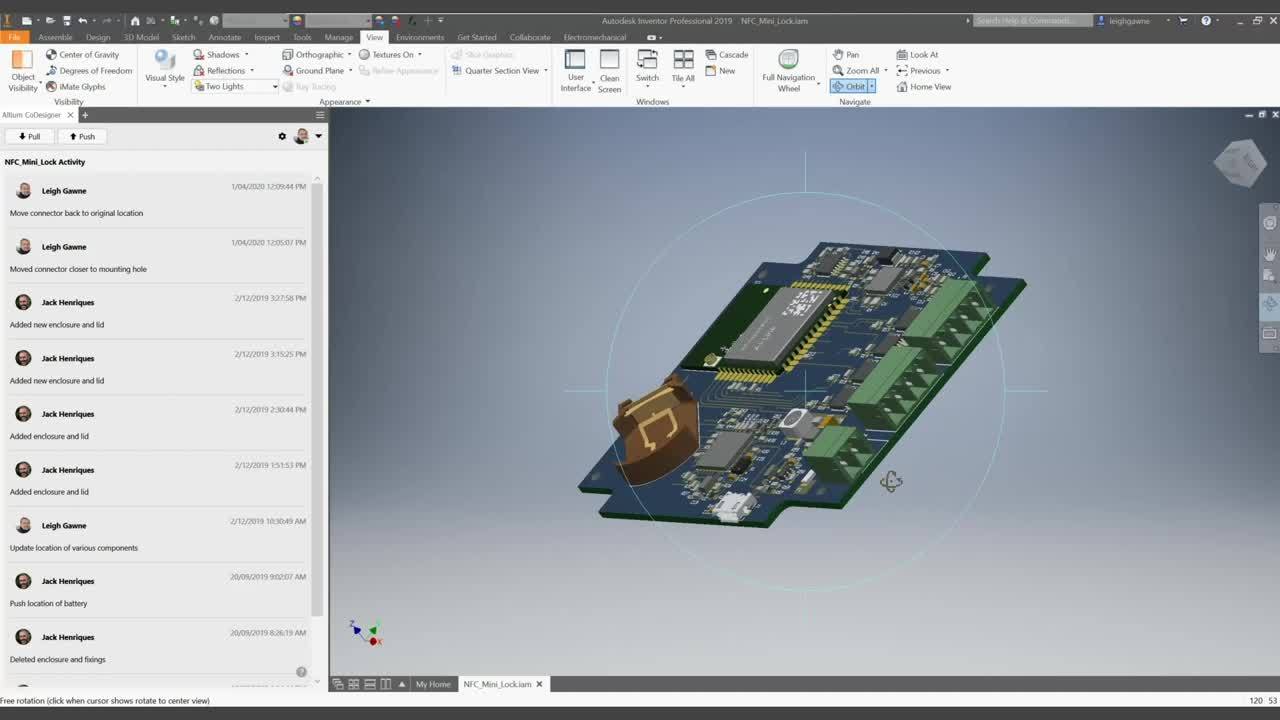
- Note: Also, you can save a lot of time on Mechatronic Design using Altium’s direct MCAD collaboration tools. Learn more about how to do that.

Sharing a Live Design On Altium 365
For full functional project collaboration you need to first migrate your library to the Workspace and then switch out unmanaged components that are in your design for those migrated counterparts:
Step 1. Migrate Project Components using the Library Migrator.
- Select project library or create it from the Project using the Design-> Make Integrated Library command.
- Right-click on the entry for the library (in the Projects panel), then choose the Migrate Library command.
- The Library Migrator opens in Simple mode, with all aspects of the migration process preselected for you. If you are fine with this, click Migrate.
If you want to have full control over the migration and the ability to define custom settings, click Advanced to enter the Library Migrator’s Advanced mode. Learn more…
Step 2. Replace the unmanaged components currently being used in your design with those you have just migrated to your Workspace. Learn more...


